Luminosity masking in Aurora HDR
Are you interested in - or confused by - luminosity masks in Aurora HDR? If so, read on, because I have explained it below with examples, a video, and more!
As you know by now, I’ve been using Aurora HDR to edit all my photos for some time. It’s a fabulous bit of software that has streamlined my workflow and I think in many ways has helped me become a better photographer. It continues to impress me, even months after using it, and I continue to find more interesting and creative things I can do with it.
In the process of me diving into Aurora and exploring all the myriad features of the product, I have been creating YouTube videos about how I use it as well. I plan to continue doing that, partly because I just love it and partly because it seems some folks are enjoying the videos and getting something out of it.
So that brings me to today’s post, which is focused on a single tool I have been using a LOT in Aurora HDR and which I think every user needs to take a closer look at in terms of how it can enhance your image creation process.
The tool in question is luminosity masks.
It’s a simple idea that is easy to use, but the simplicity of its usage masks some complex goodness going on under the hood. When applied to your photos you can create very nice HDRs with a subtle and natural look to them. And the best news is that it is VERY easy to use, even if you are new to Aurora HDR, or photography in general.
Let’s dive in!
Luminosity masks are your friend
A luminosity mask is a mask that is created based on light values in a photo. Thankfully, Aurora HDR will create these for you at the click on a button. Lighter parts of the image will have more of the mask applied to it while darker parts of the image have less of the mask applied to it. What this means is that instead of your edits just applying equally across the entire photo, they are applied based on how bright or dark the various parts of your image are. So when you apply a preset to a layer AND use a luminosity mask, the application of that preset is much more subtle than without the luminosity mask.
I think an example is in order, don’t you? ;-)
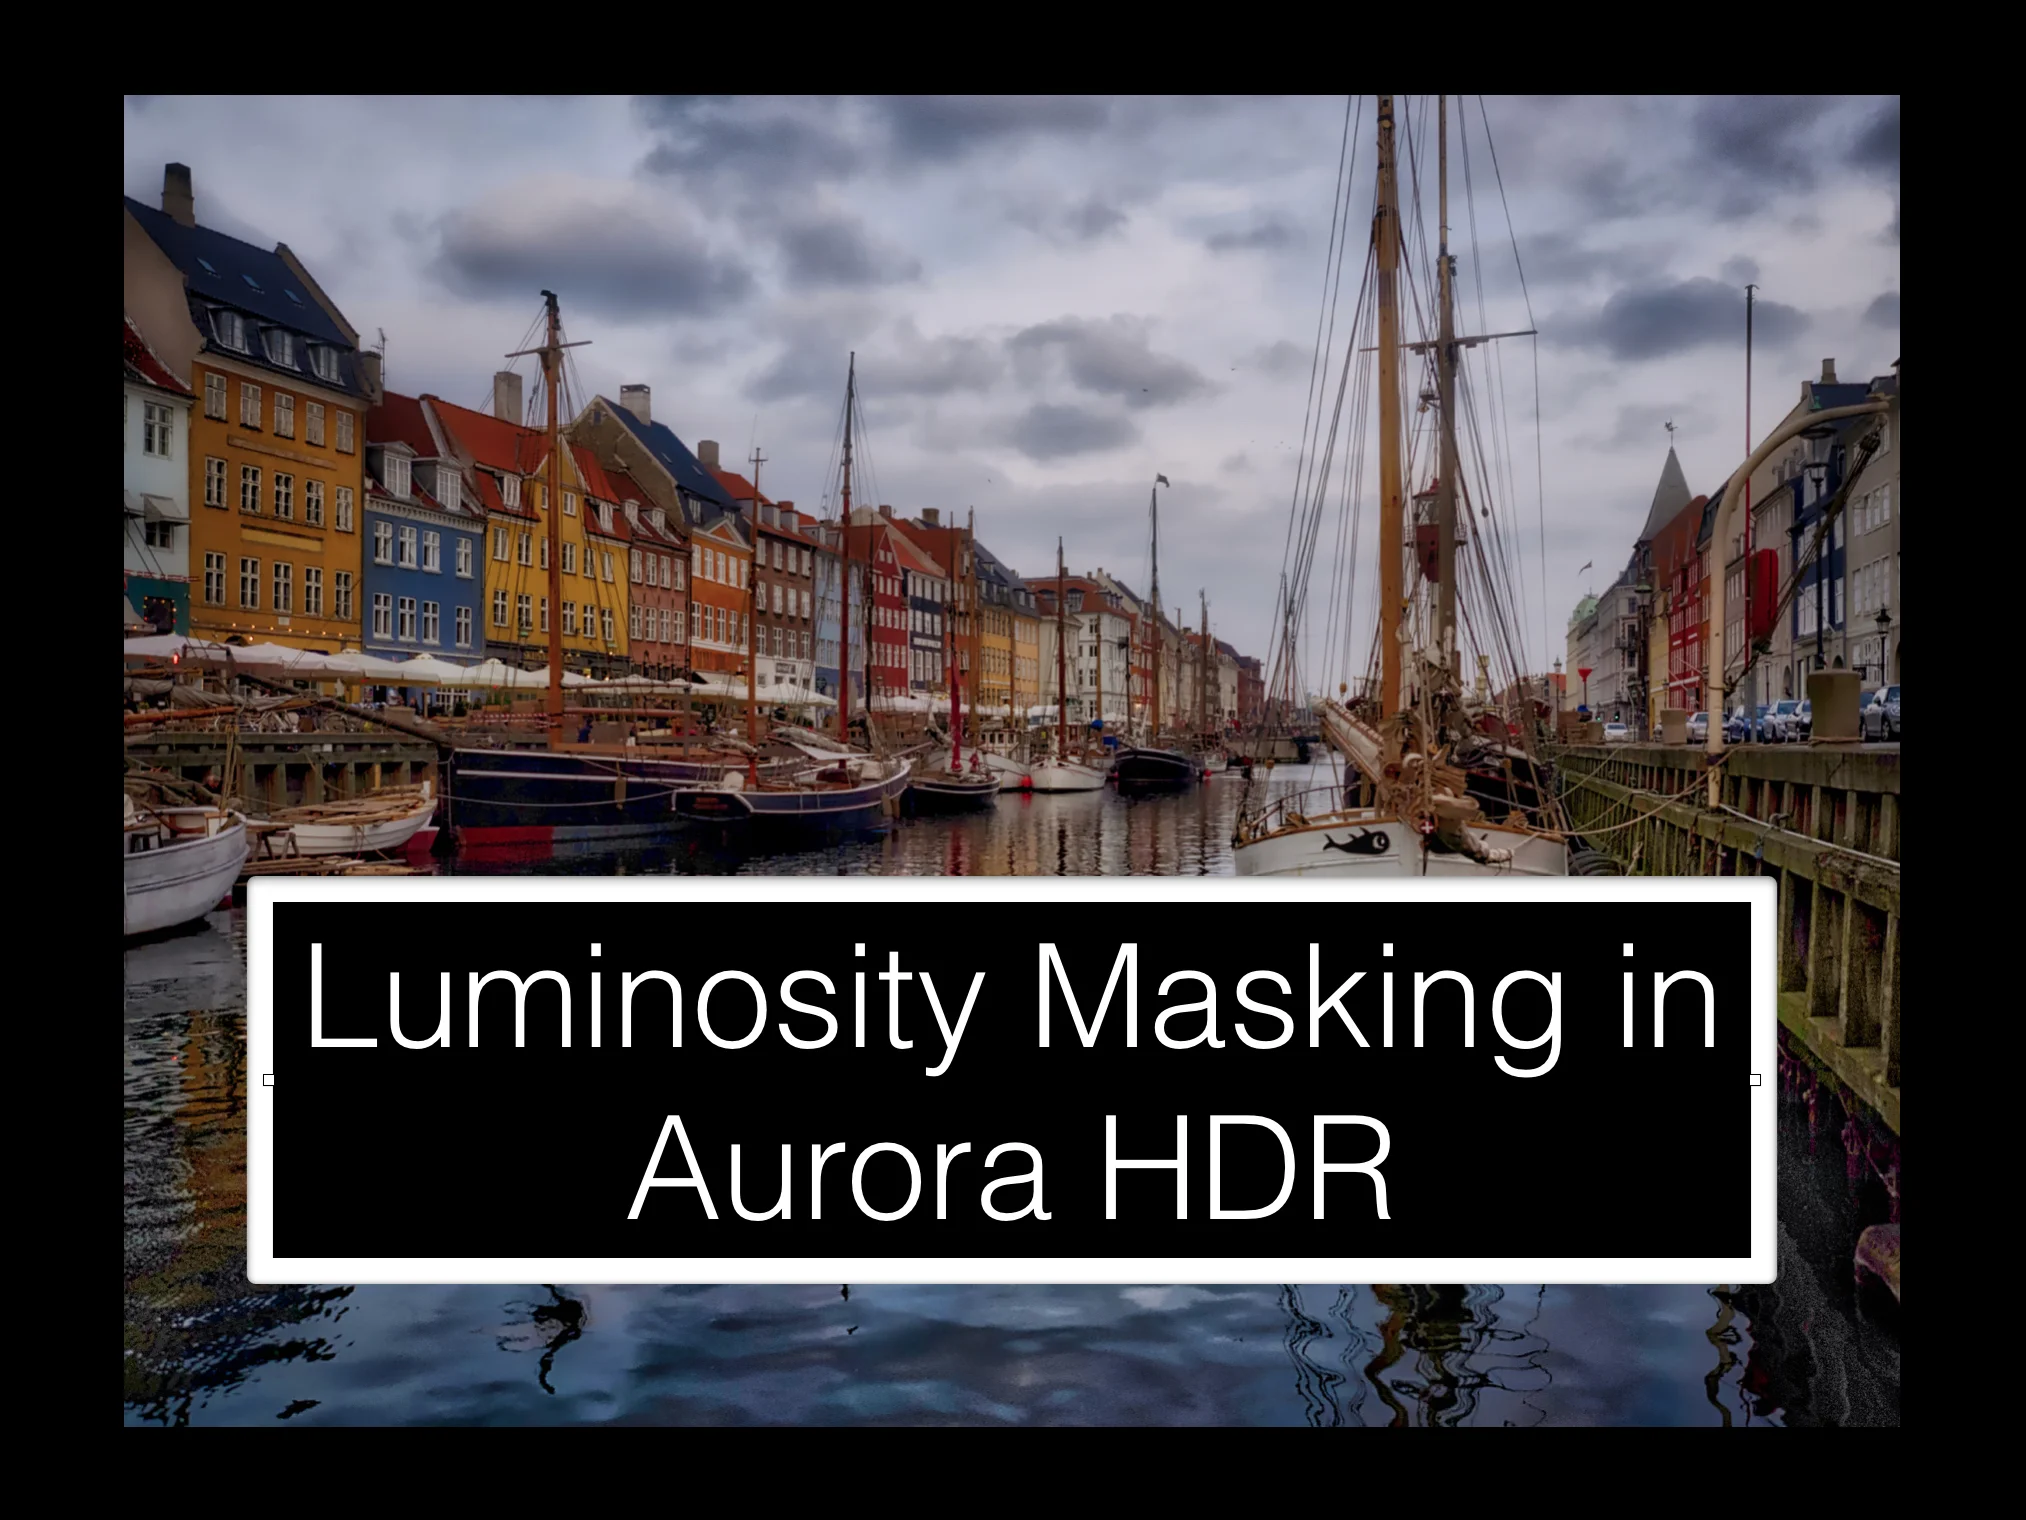
Here is a photo from Copenhagen, one of my favorite cities. This is their historic harbor front area known as Nyhavn, which I love to shoot because of all these beautiful boats and the great architecture in the background.
This is a single exposure just used for this example. It was a fairly dark image, so I added the Realistic & Bright preset to the base layer, and then added a layer to remove some noise. That got to me this point, right before we get into the whole luminosity mask thing.
The photo is pretty flat and dull, and I want to add a bit more pop and liven it up. Next up I wanted to add some color to the photo, because in real life this is a very colorful place. So I chose the Vivid Memories preset from the Realistic HDR category. Here is how that looks:
It’s pretty colorful, right? I think it’s actually a little too colorful, so this is a situation where I would experiment with adding a luminosity mask to this layer, just to see how it impacts the saturation levels across the photo.
To add a luminosity mask (LM) to the photo, just click on the drop-down menu in the layers panel, right next to the opacity slider. About halfway down the list is “Create Luminosity Mask”. Select that and Aurora will create it for you and apply it to this layer, which will impact the preset because we have already added the preset to this layer. Here is how it looks now:
That’s much more subtle, isn’t it? That’s what I love about using LM - it’s a very subtle approach to using HDR techniques (which can be quite in-your-face at times).
Here’s what the actual LM looks like on the photo. See how it is applied more heavily in the brighter areas of the photo, such as the sky, and applied less in the darker areas?
But here’s another trick, and that is to invert the LM. It completely flips the mask so the LM is applied more heavily in the darker areas of the photo and applied more lightly in the brighter parts.
Here is the photo with the inverted LM applied:
And here is what the mask looks like when it’s inverted. It’s pretty easy to see it is the opposite of the mask shown above.
Let’s do that on another layer.
Now, keep in mind that you can add a LM to EVERY LAYER if you want to. As an example, I will add another layer with a different preset to this photo. In this case, I am choosing the Realistic Dreamy preset, just because I like it.
Here’s how the photo looks after applying that preset to the new layer:
Note that from the previous layer, I opted to stick with the inverted LM on that previous layer as I thought it just looked better on the photo.
I love using that preset but it’s WAY too intense in this case. But instead of discarding it or just reducing the opacity of that layer, I will add a LM to this layer using the same steps as above.
Here is the photo now with a LM added to this layer, thus more selectively applying the preset:
I think that looks MUCH better, don’t you? The only thing is that much of the “look” of that preset gets obscured due to the LM, so I am going to invert this LM just to check it out. Here’s how that looks…
With the LM inverted, I feel like the essence of the preset is more tangible here. But it’s a little much for me still, so this is when I play around with the opacity slider. I reduced it to 60% and ended up with this look:
That pretty much settles it for me. While there are a couple of other things I would do to this photo if I was going to finish it, as far as LM goes that’s it. If you are curious, the other things I would do would be to reduce the yellow and orange saturation in the buildings and apply some structure/sharpening to the buildings and boat. I might brighten the foreground a little bit as well. While those items do require an additional layer or two, they do not require using LM, so I am going to end this here.
Well, ok here's the finished photo - I knew you were curious. :-)
Now, realize that you don’t have to only use LM with presets. They can be used on any layer. You could make all sorts of slider adjustments with the right-hand menu items and then apply a LM to that layer. It doesn't matter.