Tips for Applying Textures
Here are some tips on how I apply textures (in Luminar, but these tips work in any app):
I usually start with minor edits to the base image in Develop RAW, just to balance the light mostly. I don’t do much more because I want to get the texture on it next and take a look at it.
Once the new texture layer is applied, I reduce the opacity to about 25% to start. This gives me plenty of visibility of the image underneath, and I can always go back and change the opacity if I want to.
I experiment with Blend Modes to see how they look and if any one of them jumps out at me, I apply it.
Usually I will do masking next, assuming it is needed (depends on the photo). This gets the texture into the right places, and lets me get a good visual on how it will look as a combined image. Sometimes it looks better when an already-busy section of a photo has a lower opacity (or no) texture, leaving the higher-opacity parts for sections of the photo that are plain, such as an empty sky.
If you don’t like the color of the texture, you can use Color Balance, Color Temperature, Curves and other filters in Luminar to change the general color of it, so it more closely resembles the look you are trying to achieve.
You can stack multiple textures for even more creative results, and blend them with blend modes, opacity, and masking.
Once I feel like the texture or textures are all set, I will merge the layers so I have a new combined image at the top of my stack, which I can then edit.
Consider applying additional filters/effects on the merged layer. I generally experiment with color tones, contrast, details and light until I am happy with it.
Have fun!
Interested in getting some textures? Check out my texture packs below and have fun creating some art!
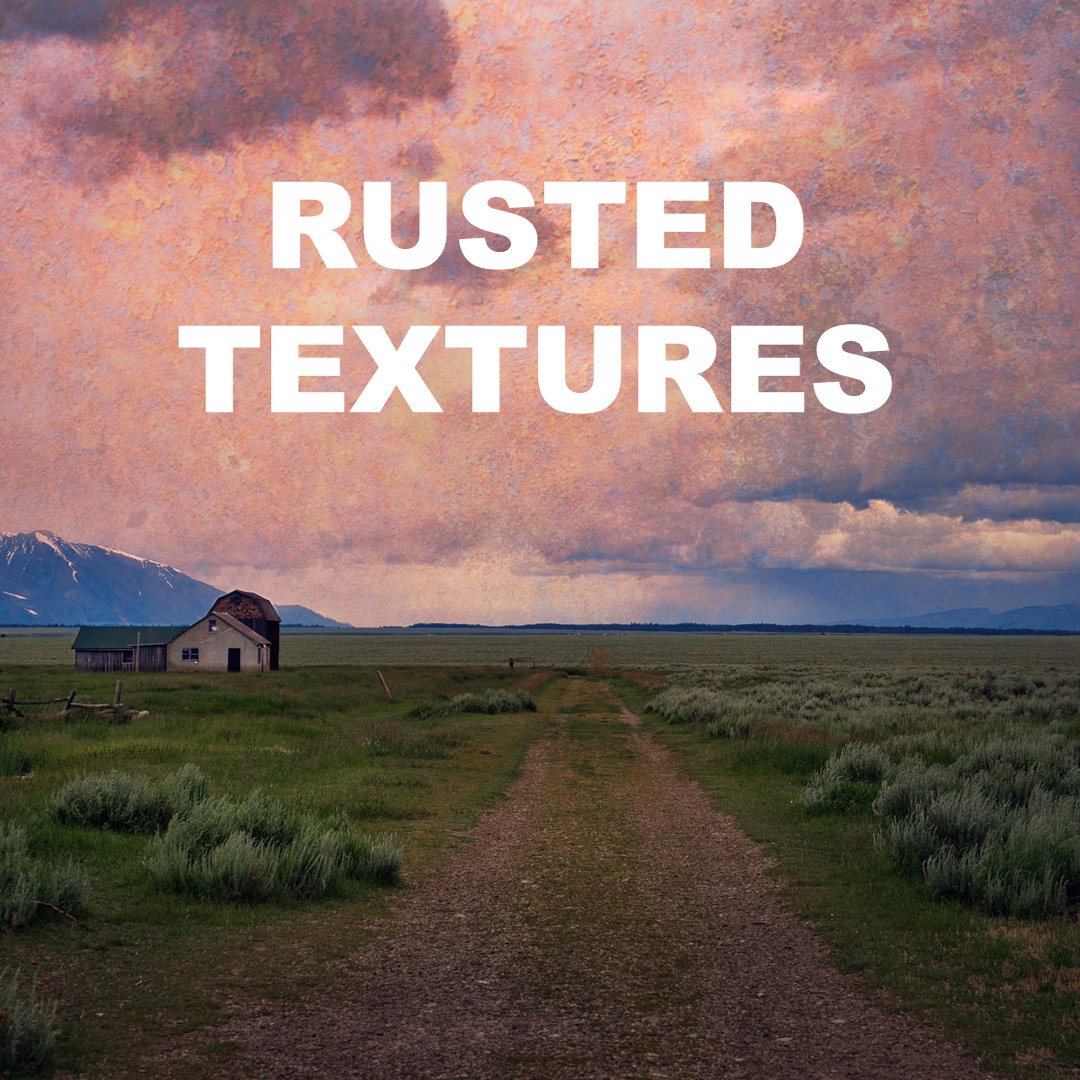
Add Grit, Character, and Depth to Your Images
Looking to give your photos a bold, weathered feel? The Rusted Texture Collection is your creative secret weapon—packed with real-world grit, texture, and edge. These high-resolution textures add mood, depth, and a tactile quality that turns ordinary edits into layered works of art.
🔧 What’s Included:
19 high-resolution rusted textures (JPG format)
A mix of rusted metal, oxidized surfaces, and weathered detail
Works with Luminar Neo, On1 Photo RAW, Photoshop, and any software that supports image overlays
Perfect for adding drama, decay, age, or artistic imperfection
🎯 Why You’ll Love It:
Easy to use – Just add as an overlay, blend, and adjust to taste
Creative flexibility – Use them subtly for vintage mood or boldly for dramatic effects
Endless possibilities – Great for fine art photos, composites, album covers, YouTube thumbnails, and more
High-res quality – Detailed enough for print, subtle enough for screen
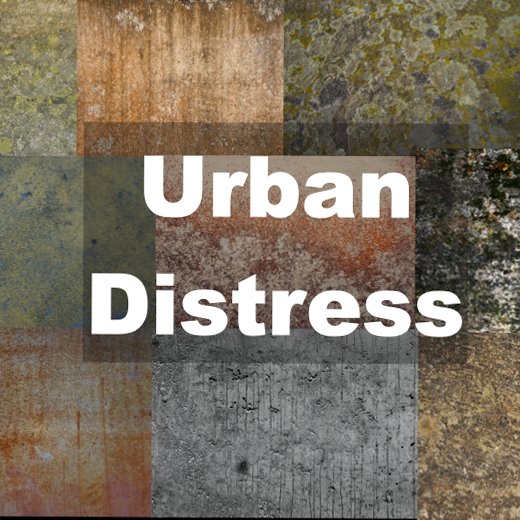
Raw. Gritty. Perfectly Imperfect.
Bring the beauty of decay and the chaos of the city into your edits. The Urban Distress Texture Pack is a bold collection of 10 high-resolution textures inspired by real-world urban wear—peeling paint, cracked concrete, weathered walls, and industrial grit. Add texture, mood, and depth in seconds with overlays that look anything but manufactured.
📦 What’s Inside:
10 high-res JPG textures captured from real distressed urban surfaces
A range of grunge, concrete, cracked paint, metal, and industrial patina
Works with Luminar Neo, On1 Photo RAW, Photoshop, Affinity, and other photo editing or design tools that support overlays
Each texture is large, crisp, and ready for blending into your creative workflow
💥 Why Use Urban Distress?
Add character instantly—give clean digital images a gritty, tactile edge
Enhance storytelling in street photography, composites, fine art, and moody portraits
Perfect for overlays, backgrounds, and layer blending—with endless stylistic variations
Create unique visuals that stand out from polished, over-edited trends
If you prefer video, you can check out this tutorial where I walk through a full workflow example, using Luminar Neo.