How to Build the Perfect Preset in Luminar
Building the Perfect Preset in Luminar
If you’ve followed my photography for any length of time, you know I’m a fan of presets. I don’t think of them as one-click miracles - I think of them as accelerators, learning tools, and fuel for creative inspiration.
Sure, a preset can often get you 80% of the way to a finished edit in a single click, which is a huge time saver. But more importantly, presets reveal a workflow. You can see what tools were used, understand how they work together, and learn how to create your own look.
It’s like having an editing coach with you.
When I build a preset, I’m thinking about three things, which is the basis of my editing framework for every image:
Light → Detail → Color
That sequence forms the foundation of nearly every edit I make.
(You can download my FREE Editing Framework document here.)
Start with Light
Light sets the mood and direction of an image, so it’s where I always begin.
My first stop is always Develop RAW, where I adjust highlights, shadows, contrast, and white balance. Those changes establish the foundation for the entire image. This is a critical step.
After that, I often move into Supercontrast, one of my favorite tools in Luminar. It lets me refine highlights, midtones, and shadows independently, giving me more control over how light flows through a scene.
If I need a little more light emphasis on my subject, Light Depth is perfect for that.
One thing I always keep in mind when building presets: stick to global adjustments. Preset masks aren’t adaptive, so any mask saved into a preset can end up appearing in odd places on the next image.
After applying a preset, you can always go into the tools used and apply masks as needed. You can also go into Develop RAW if you need to adjust distortion correction or vertical alignment and more.
Add Detail Carefully
For detail work, I rely heavily on Structure AI.
The reason I like it so much is flexibility - you can increase structure to emphasize texture, or go negative and smooth parts of the image. I frequently use both approaches during editing.
The key, though, is restraint. More detail isn't always better. Small adjustments often create the most natural-looking results.
Color Is Where the Magic Happens
Color is probably my favorite stage of editing, and Luminar has fantastic tools for it.
I frequently use:
Color for HSL adjustments and fine-tuning individual colors
Toning to separate highlight and shadow color grades
Golden Hour for enhancing warm light in sunrise and sunset images
Color Harmony for creating balance and adding warm/cool contrast
One of my favorite techniques is creating what I call color tension - introducing subtle warm and cool contrasts that help make an image feel more dynamic and alive. This can enhance the overall beauty of an image because it plays off the idea of complementary colors.
Finish with Mood
At the end of an edit, I’ll sometimes add a final adjustment to complete the mood I have created with the image.
I use tools like Mystical or Develop (for a second time), or even a subtle Vignette because these can help pull the image together and add atmosphere without overpowering the scene.
Then I’ll step back, review the image one more time, and ask myself simple questions:
Does this feel finished? Is it overdone? Do I like it?
Sometimes the best, final adjustment is the one you remove. Less is often more.
Final Thoughts
Truthfully, there’s no such thing as a perfect preset. Every photo is different, and no preset works perfectly on every image. But that is ok.
Presets that are built with the right tools help guide you to a perfect edit. That’s how you get it done. It’s not about stacking random tools together. It’s about creating a repeatable workflow that guides an image toward a specific mood and style.
Many of the ideas above are the same concepts I use when creating presets for my own photography. I use these in my editing workflow and save myself time.
If you’d rather start with a proven foundation instead of building everything from scratch, you can browse all of my Luminar preset collections here: Shop My Presets or check out my most popular packs below.
Thanks and I hope you found this useful!
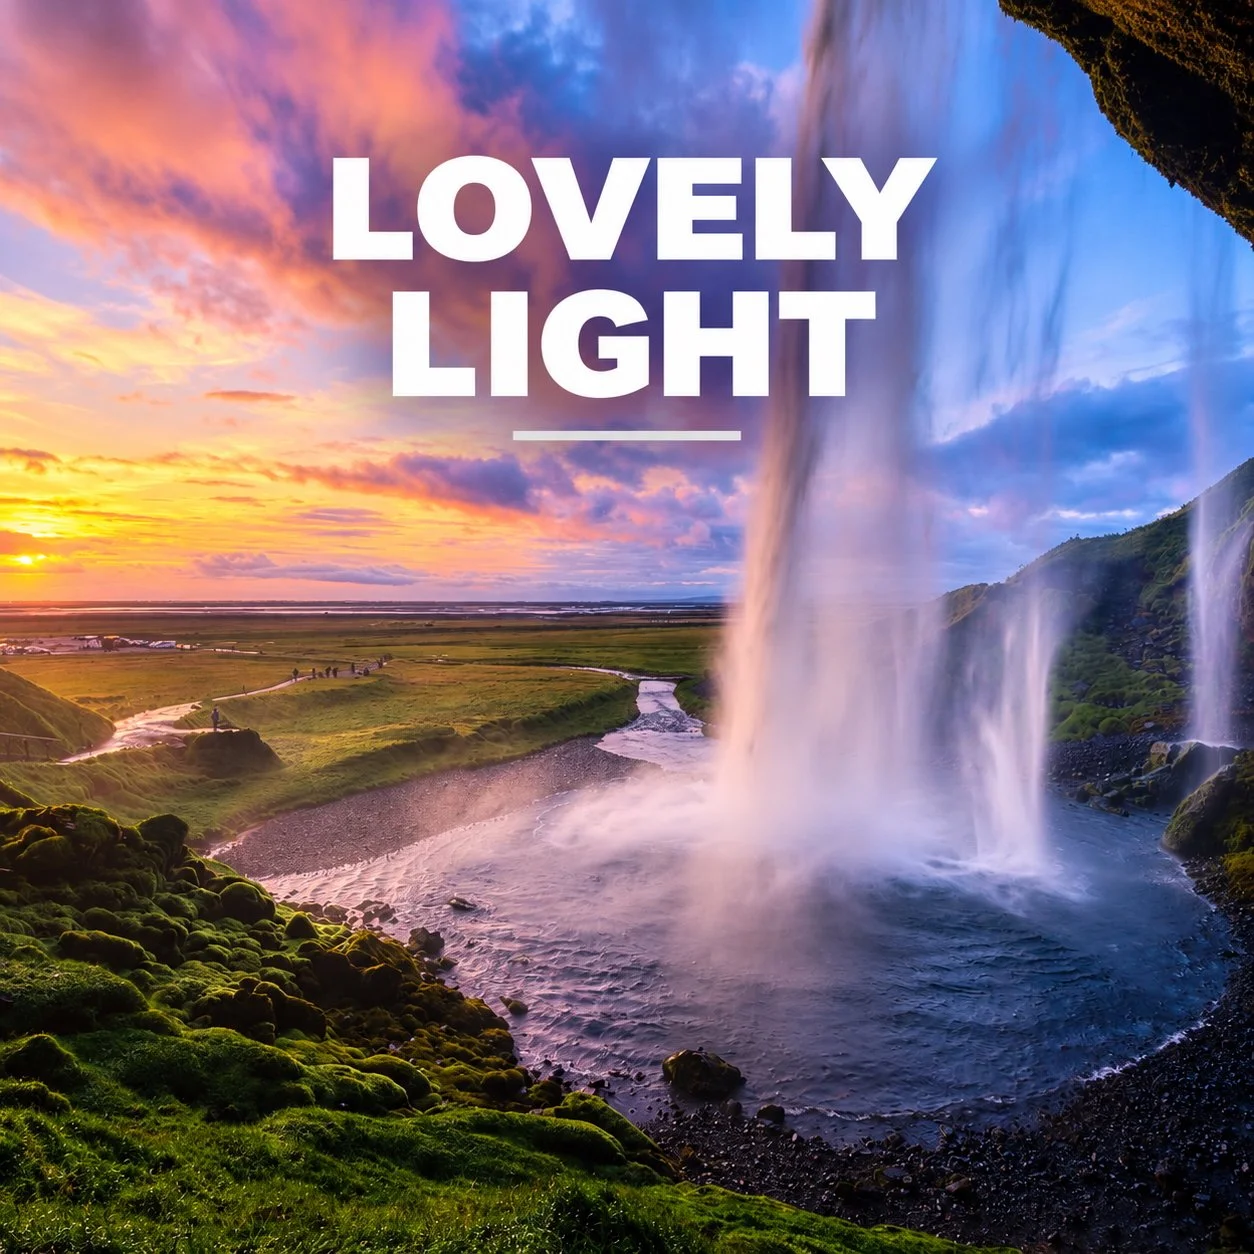
Create Soft, Moody Light and Color in Just One Click
Want to transform ordinary images into luminous, dreamy works of art? The Lovely Light Preset Pack for Luminar helps you instantly infuse your photos with warmth, color, radiance, and subtle glow—perfect for those moments at the edges of the day when the light is soft, dreamy and gorgeous.
✅ What You Get:
20 handcrafted presets designed to enhance and amplify beautiful soft light
Built with and optimized for Luminar
Ideal for landscapes, city scenes, and travel images
Instant download, easy install, and full creative control
🎨 Perfect For:
Glowing sunsets and golden hour magic
Romantic landscapes with a hint of haze
Creative edits that feel alive with light
Even dreamy portraits with soft skin tones

Turn Your Travel Photos into Vivid, Dreamy Masterpieces
You captured the moment—now bring it to life. The Travel Dreams Preset Pack is designed for photographers who want their images to feel like the memories they hold. With rich colors, balanced tones, and a touch of cinematic polish, these presets will make your travel shots pop with purpose and mood.
✈️ What’s Inside:
20 vibrant, travel-inspired presets crafted for Luminar Neo
Optimized for landscapes, cityscapes, beaches, streets, and architectural scenes
A mix of bold, moody, warm, and clean styles to match any location
Instant download + quick installation instructions and full creative control
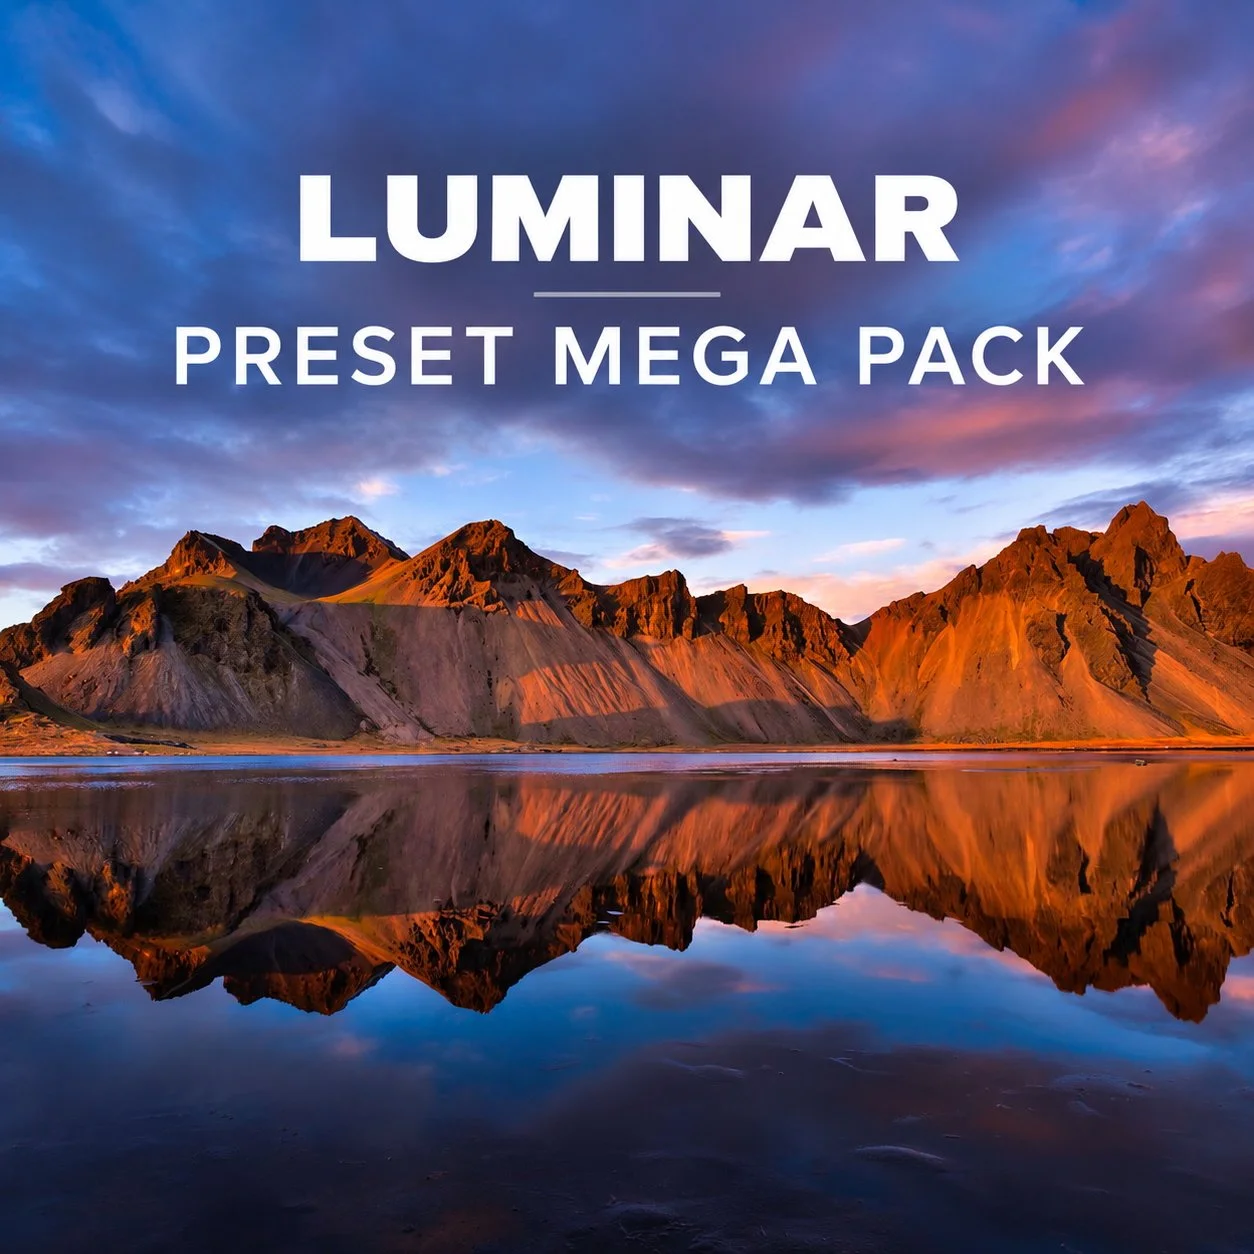
Better Photos. More Creative Possibilities.
Get 50 creative presets designed to give your Luminar edits a beautiful starting point—so you can explore new looks, edit faster, and make each photo your own.
Start with inspiration. Finish with your vision.
Presets aren't meant to finish the photo for you. They're a fast way to explore creative possibilities and find a direction you love.
The Mega Pack gives you 50 different starting points for your Luminar edits—from natural and subtle to colorful, dramatic and moody. Apply a look you like, adjust it to fit your photo, and make it your own.
Designed exclusively for Luminar desktop software. Also works when using Luminar as a plugin in Adobe Photoshop or Lightroom, or Apple Photos.