 Image 1 of 2
 Image 2 of 2
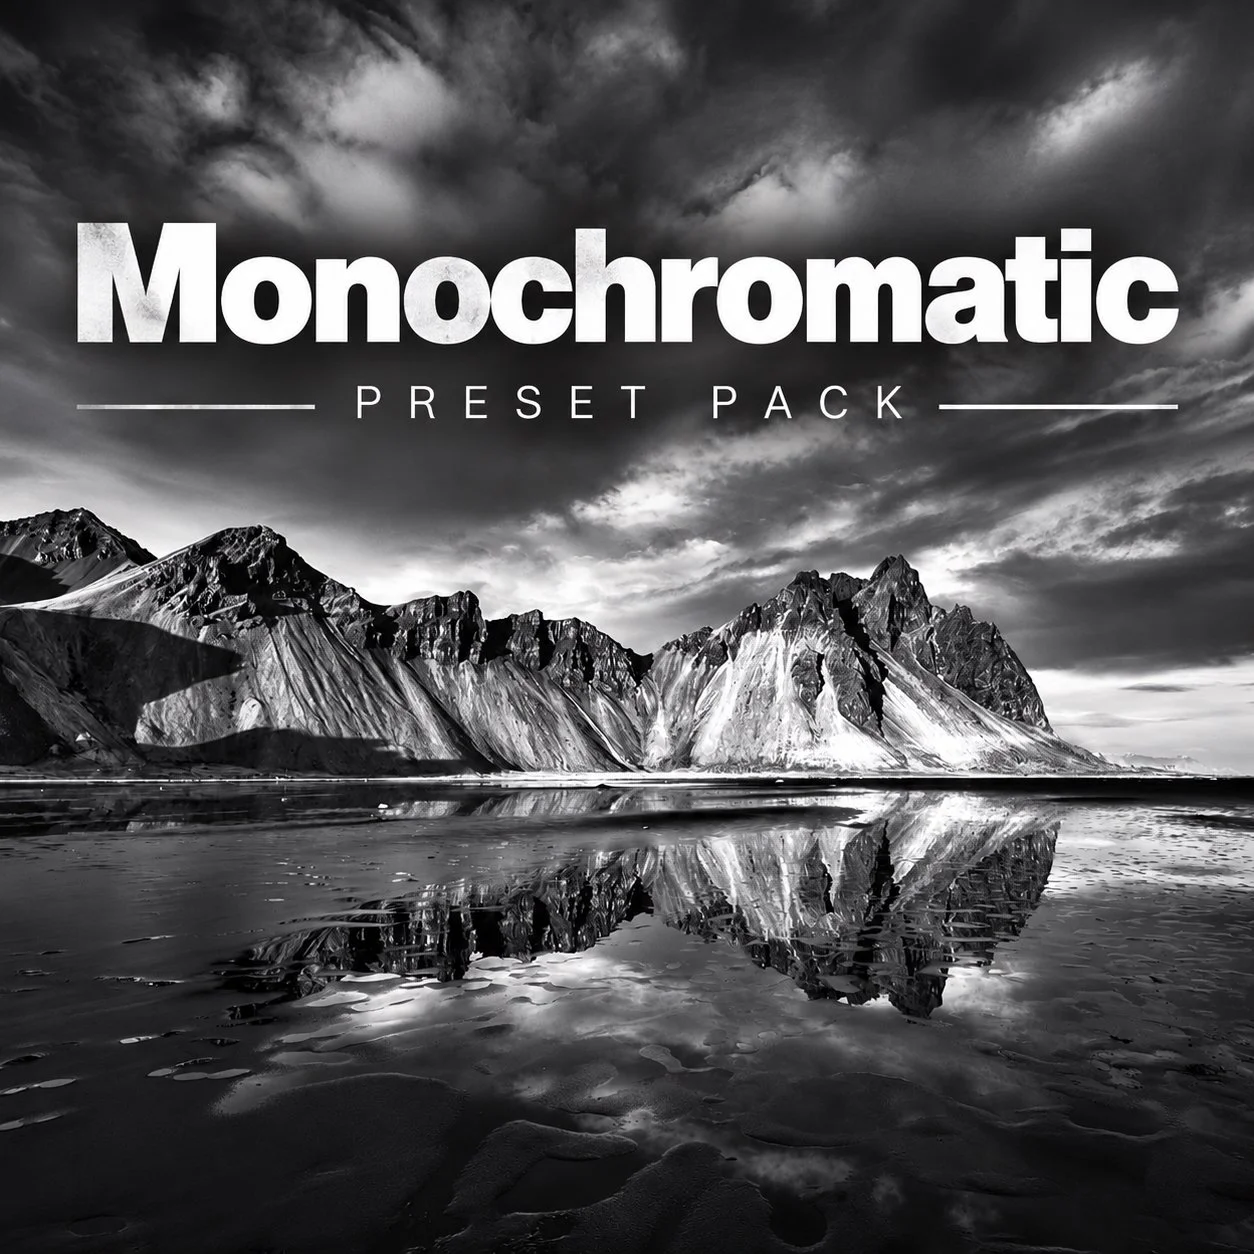
Monochromatic Luminar Preset Pack

🎯 Why Use Monochromatic?
Striking contrast and tonal balance with a single click
Mood-rich results that draw viewers in and elevate your storytelling
Fine-tuned for flexibility – each preset is a creative starting point you can customize
Eliminates color distraction, letting light, texture, and subject shine
🖤 Perfect For:
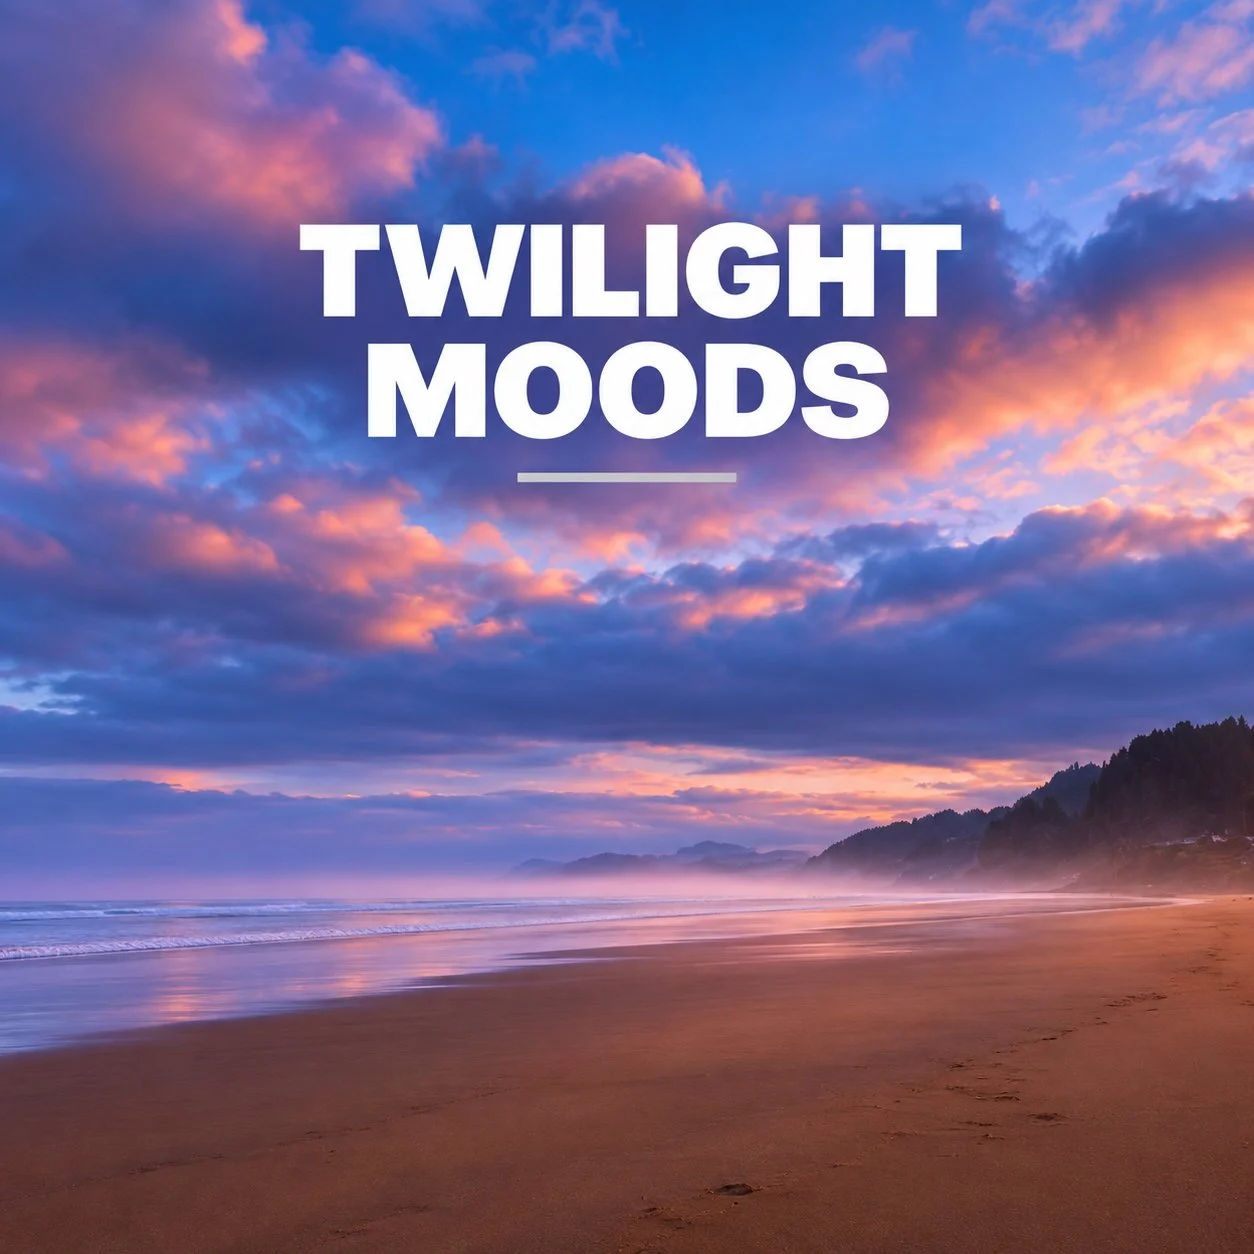
Dramatic landscapes with powerful skies and textures
Cityscapes and architecture with strong lines and contrast
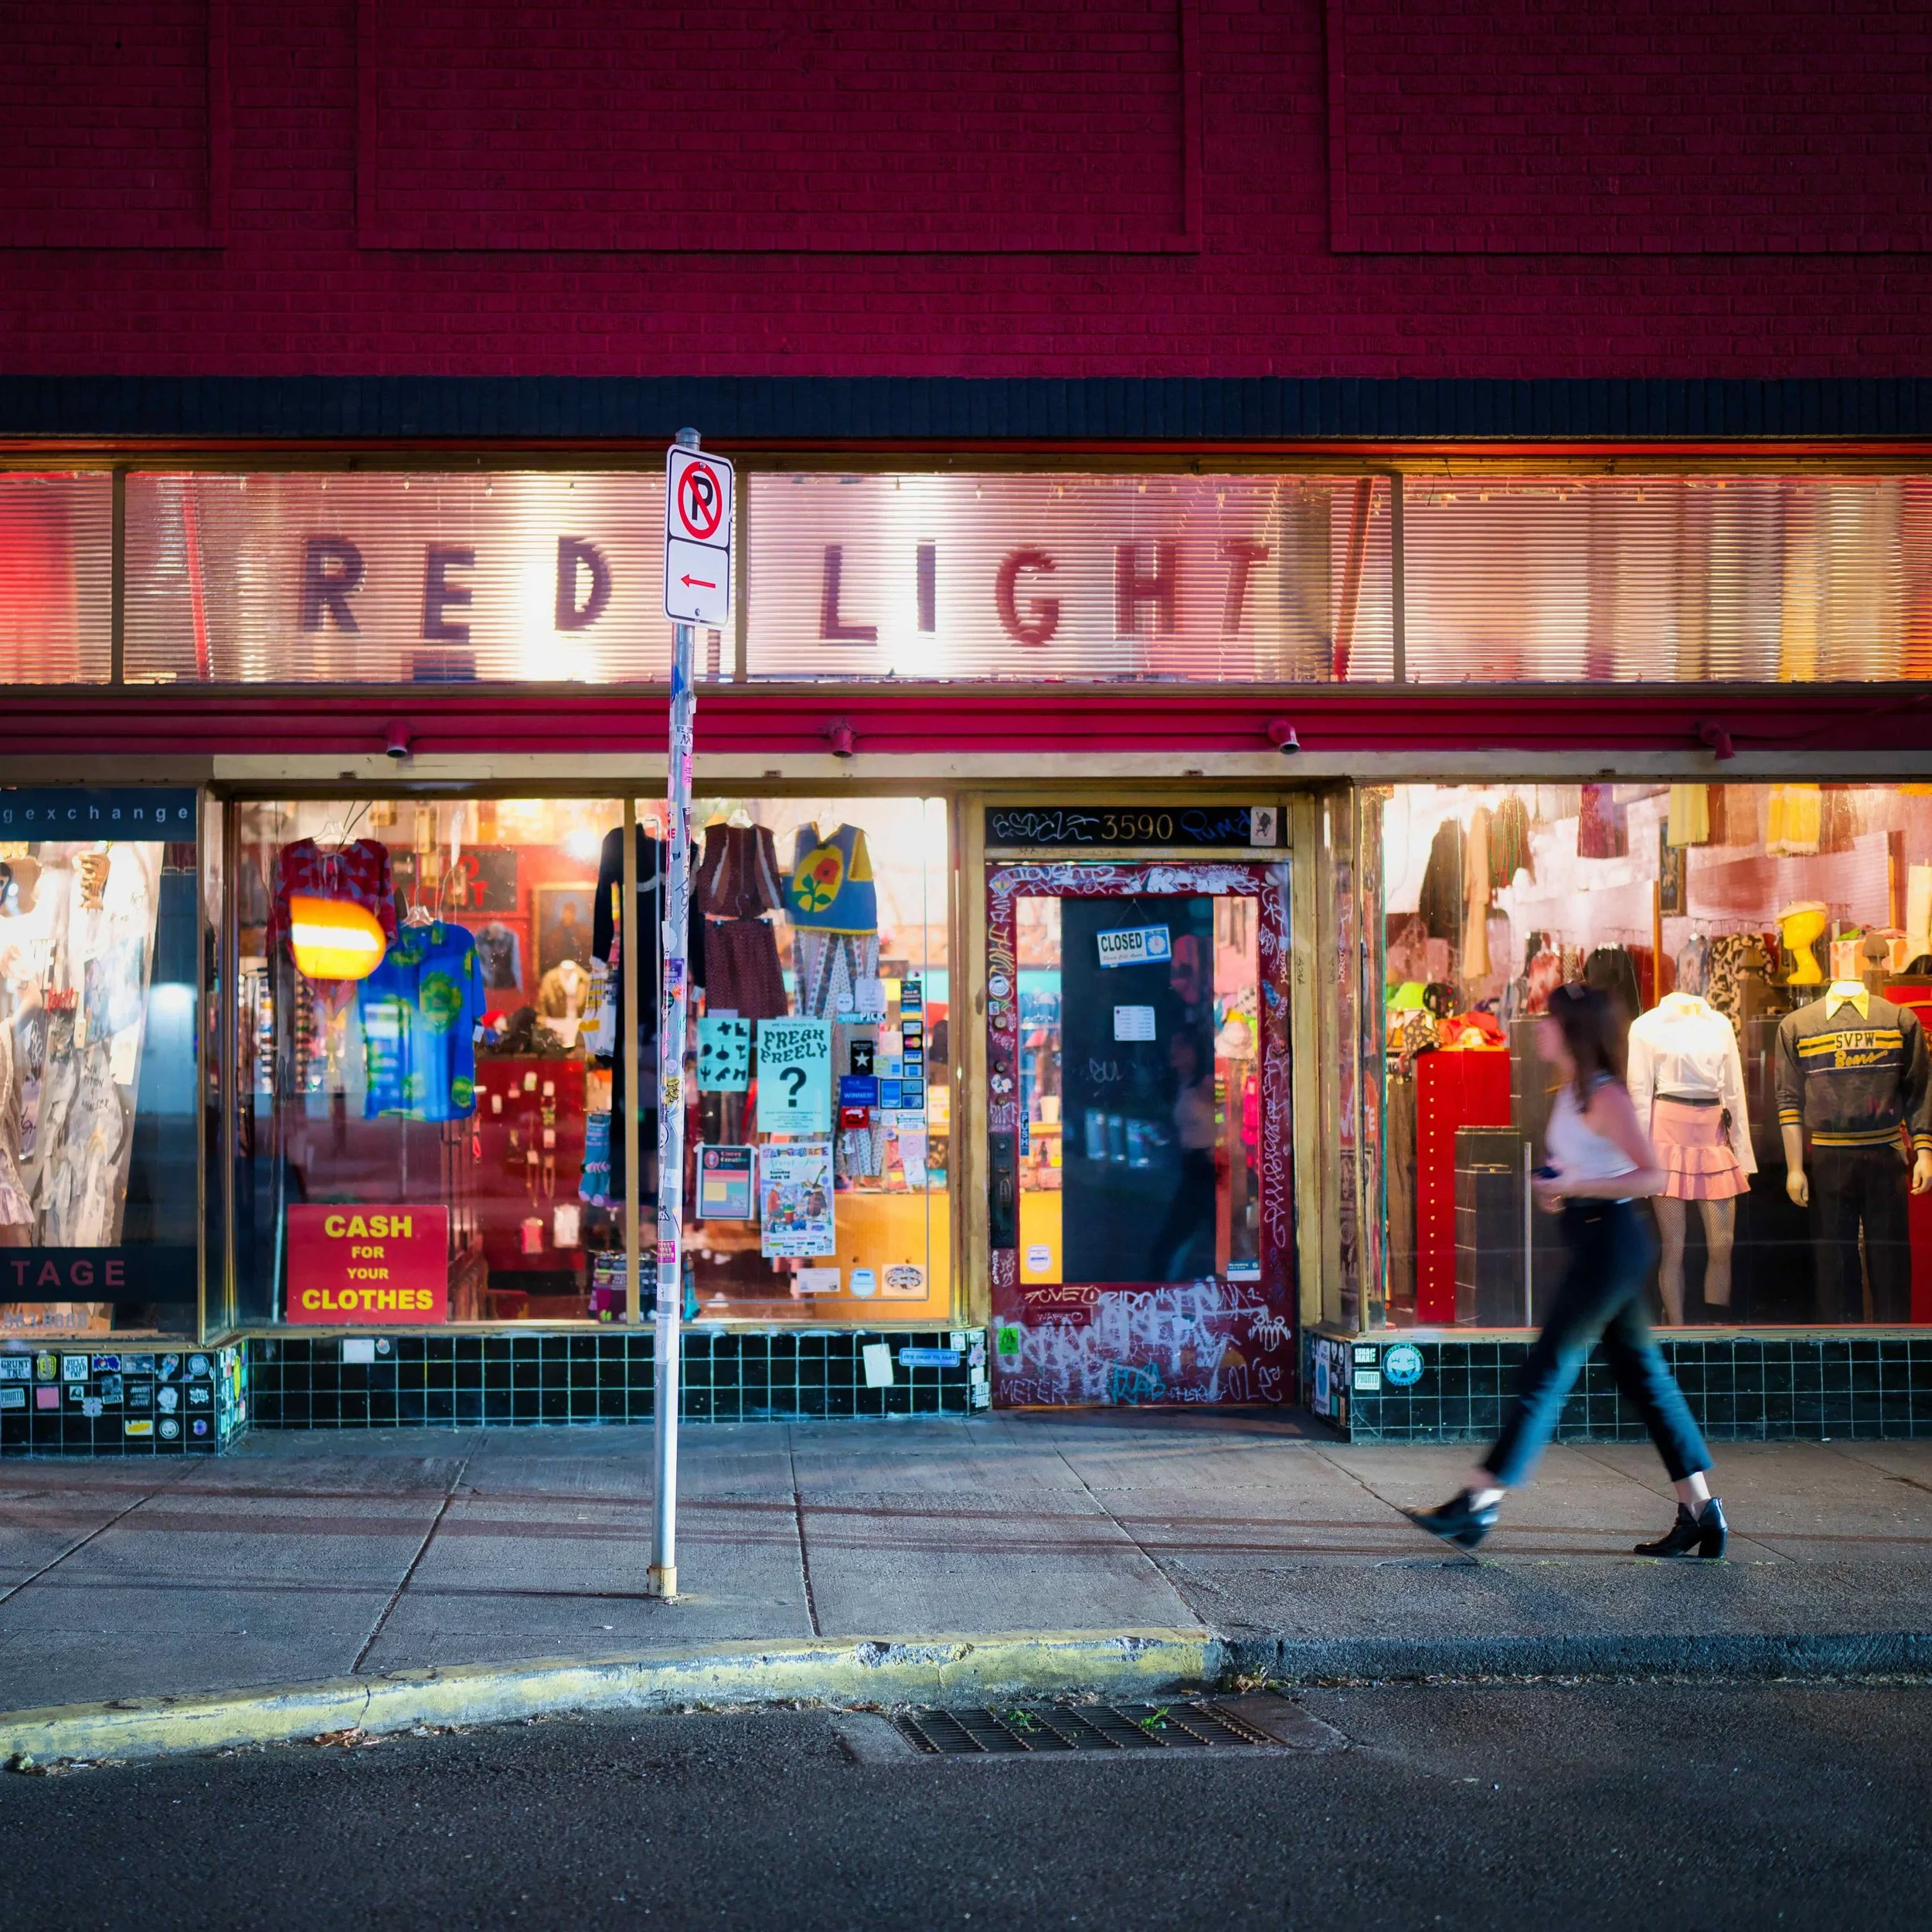
Street scenes where light and shadow tell the story
Fine-art monochrome edits with depth and mood
✨ Strip Away the Color. Amplify the Emotion.
Whether you’re aiming for classic elegance or a punchy, modern B&W look, the Monochromatic Preset Pack gives you the tools to tell more powerful visual stories - faster and with full control.
See What Monochromatic Can Do
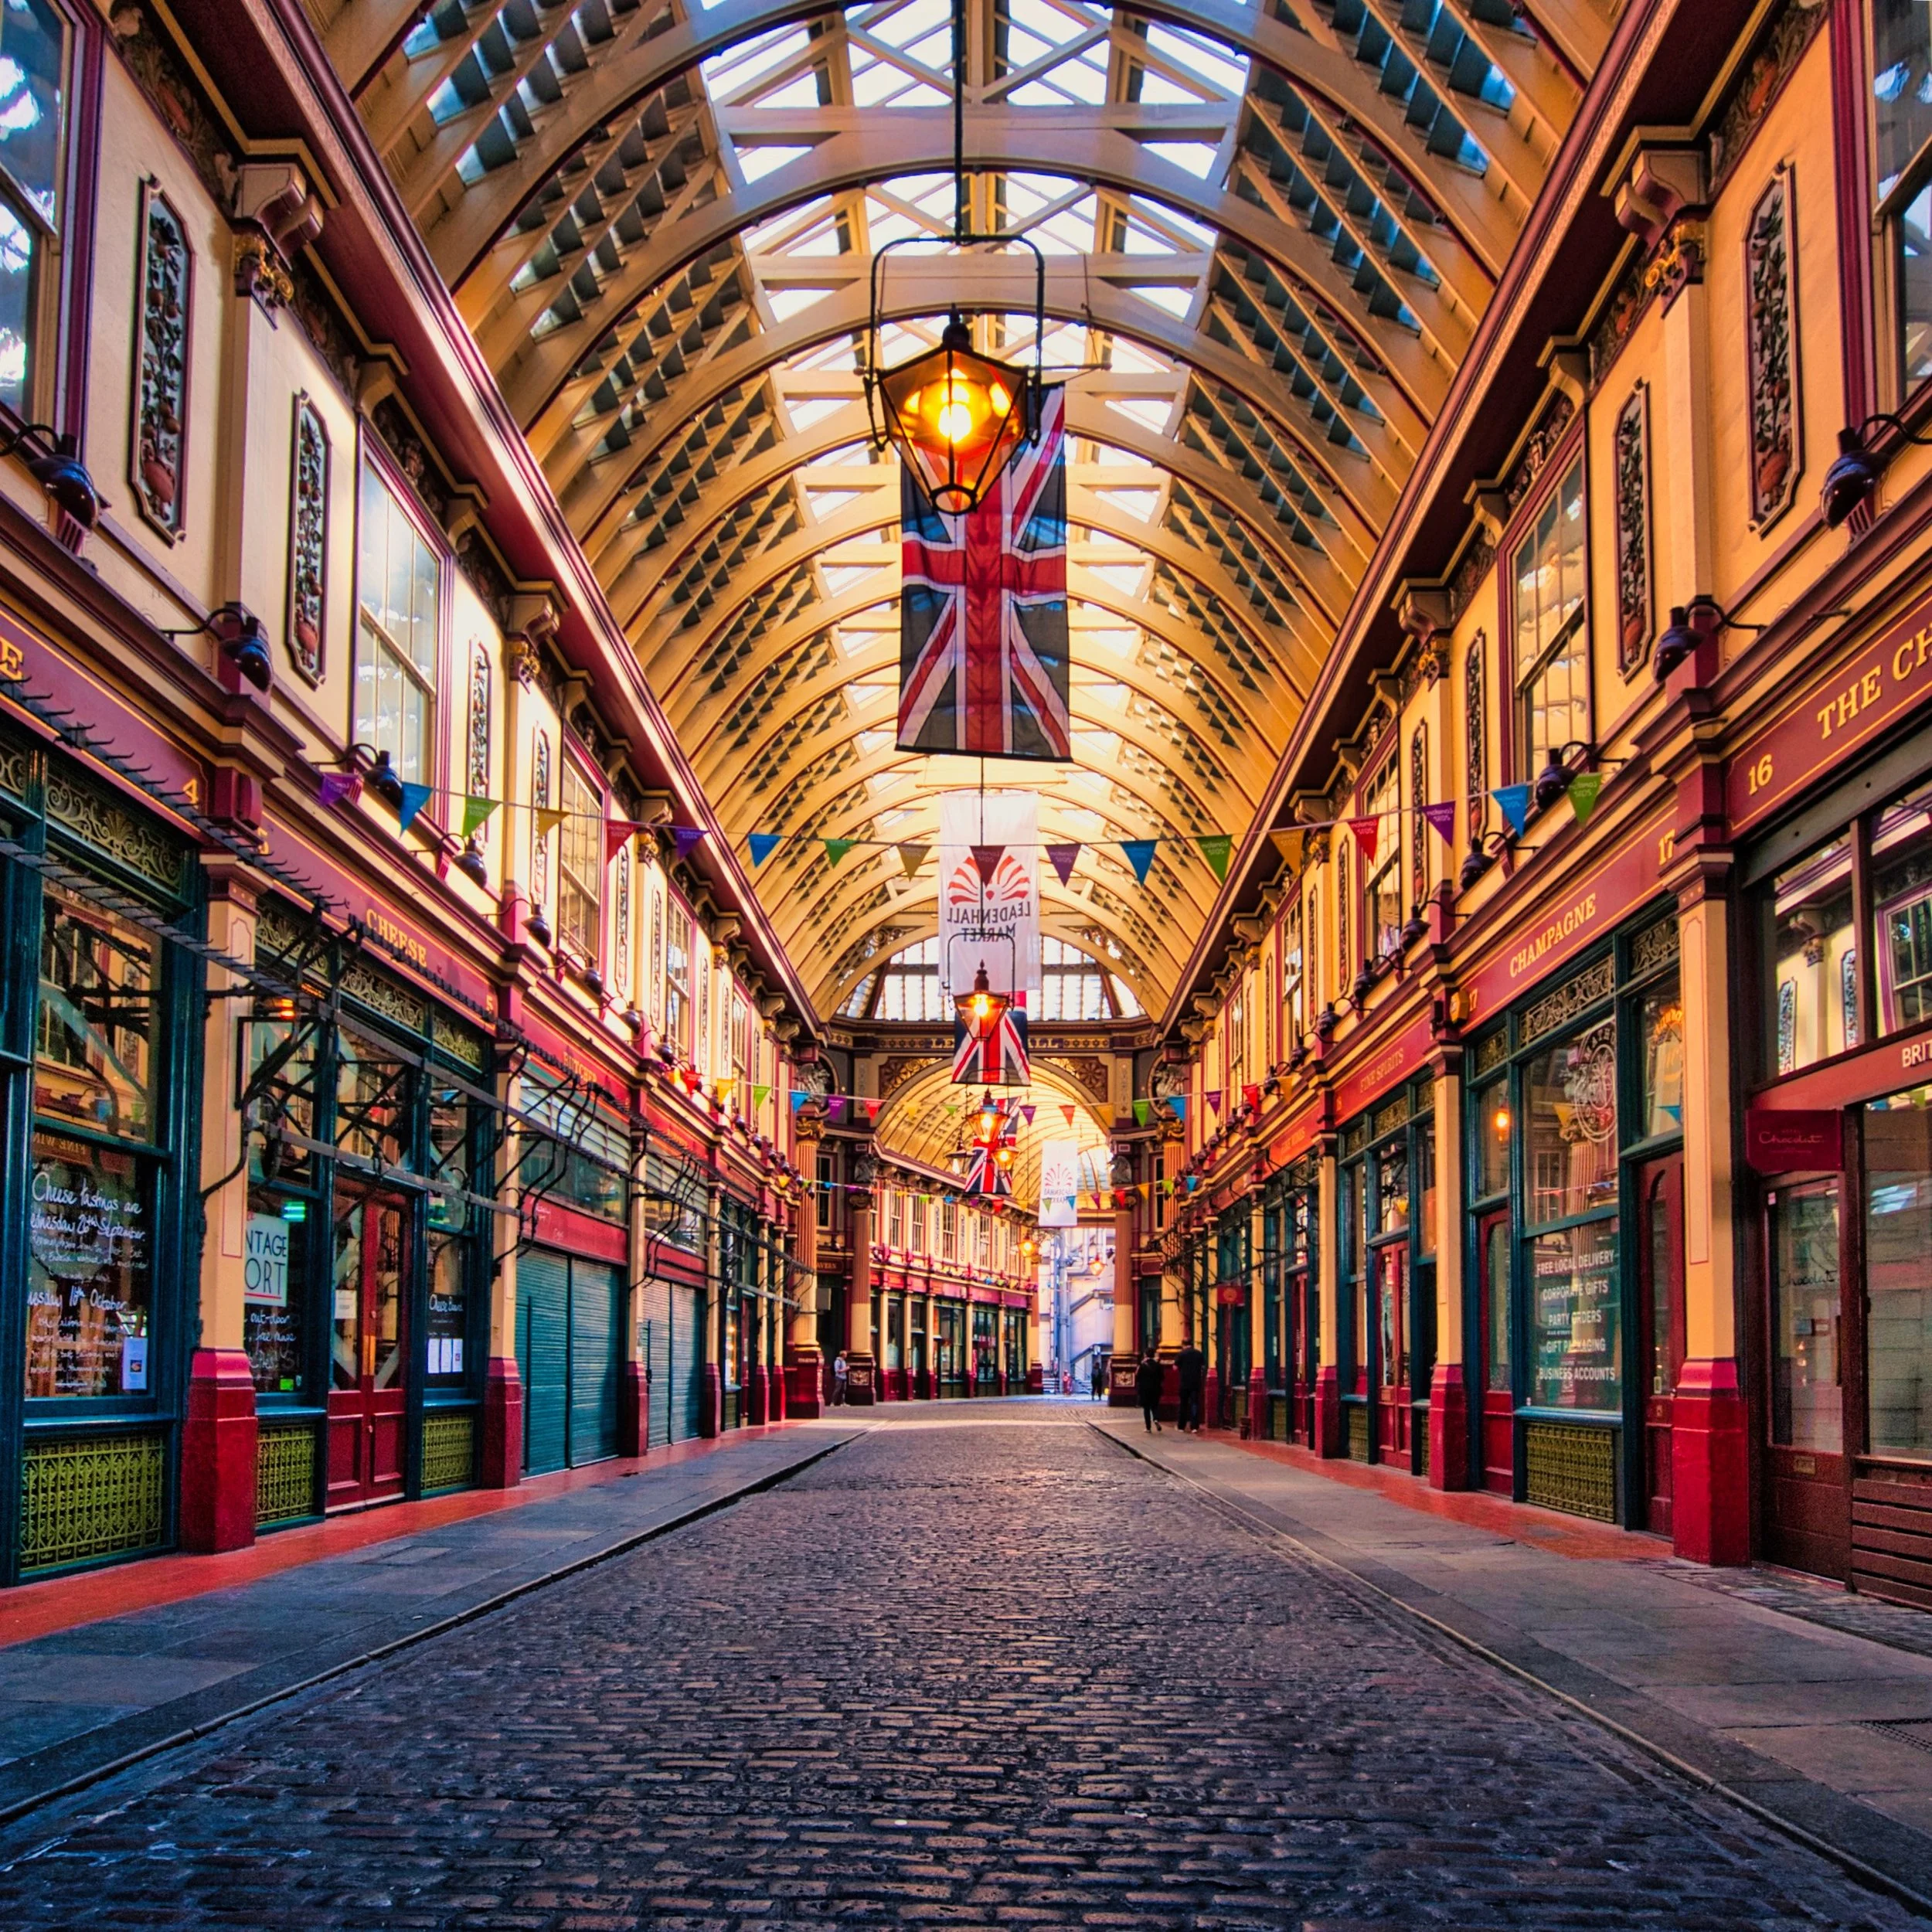
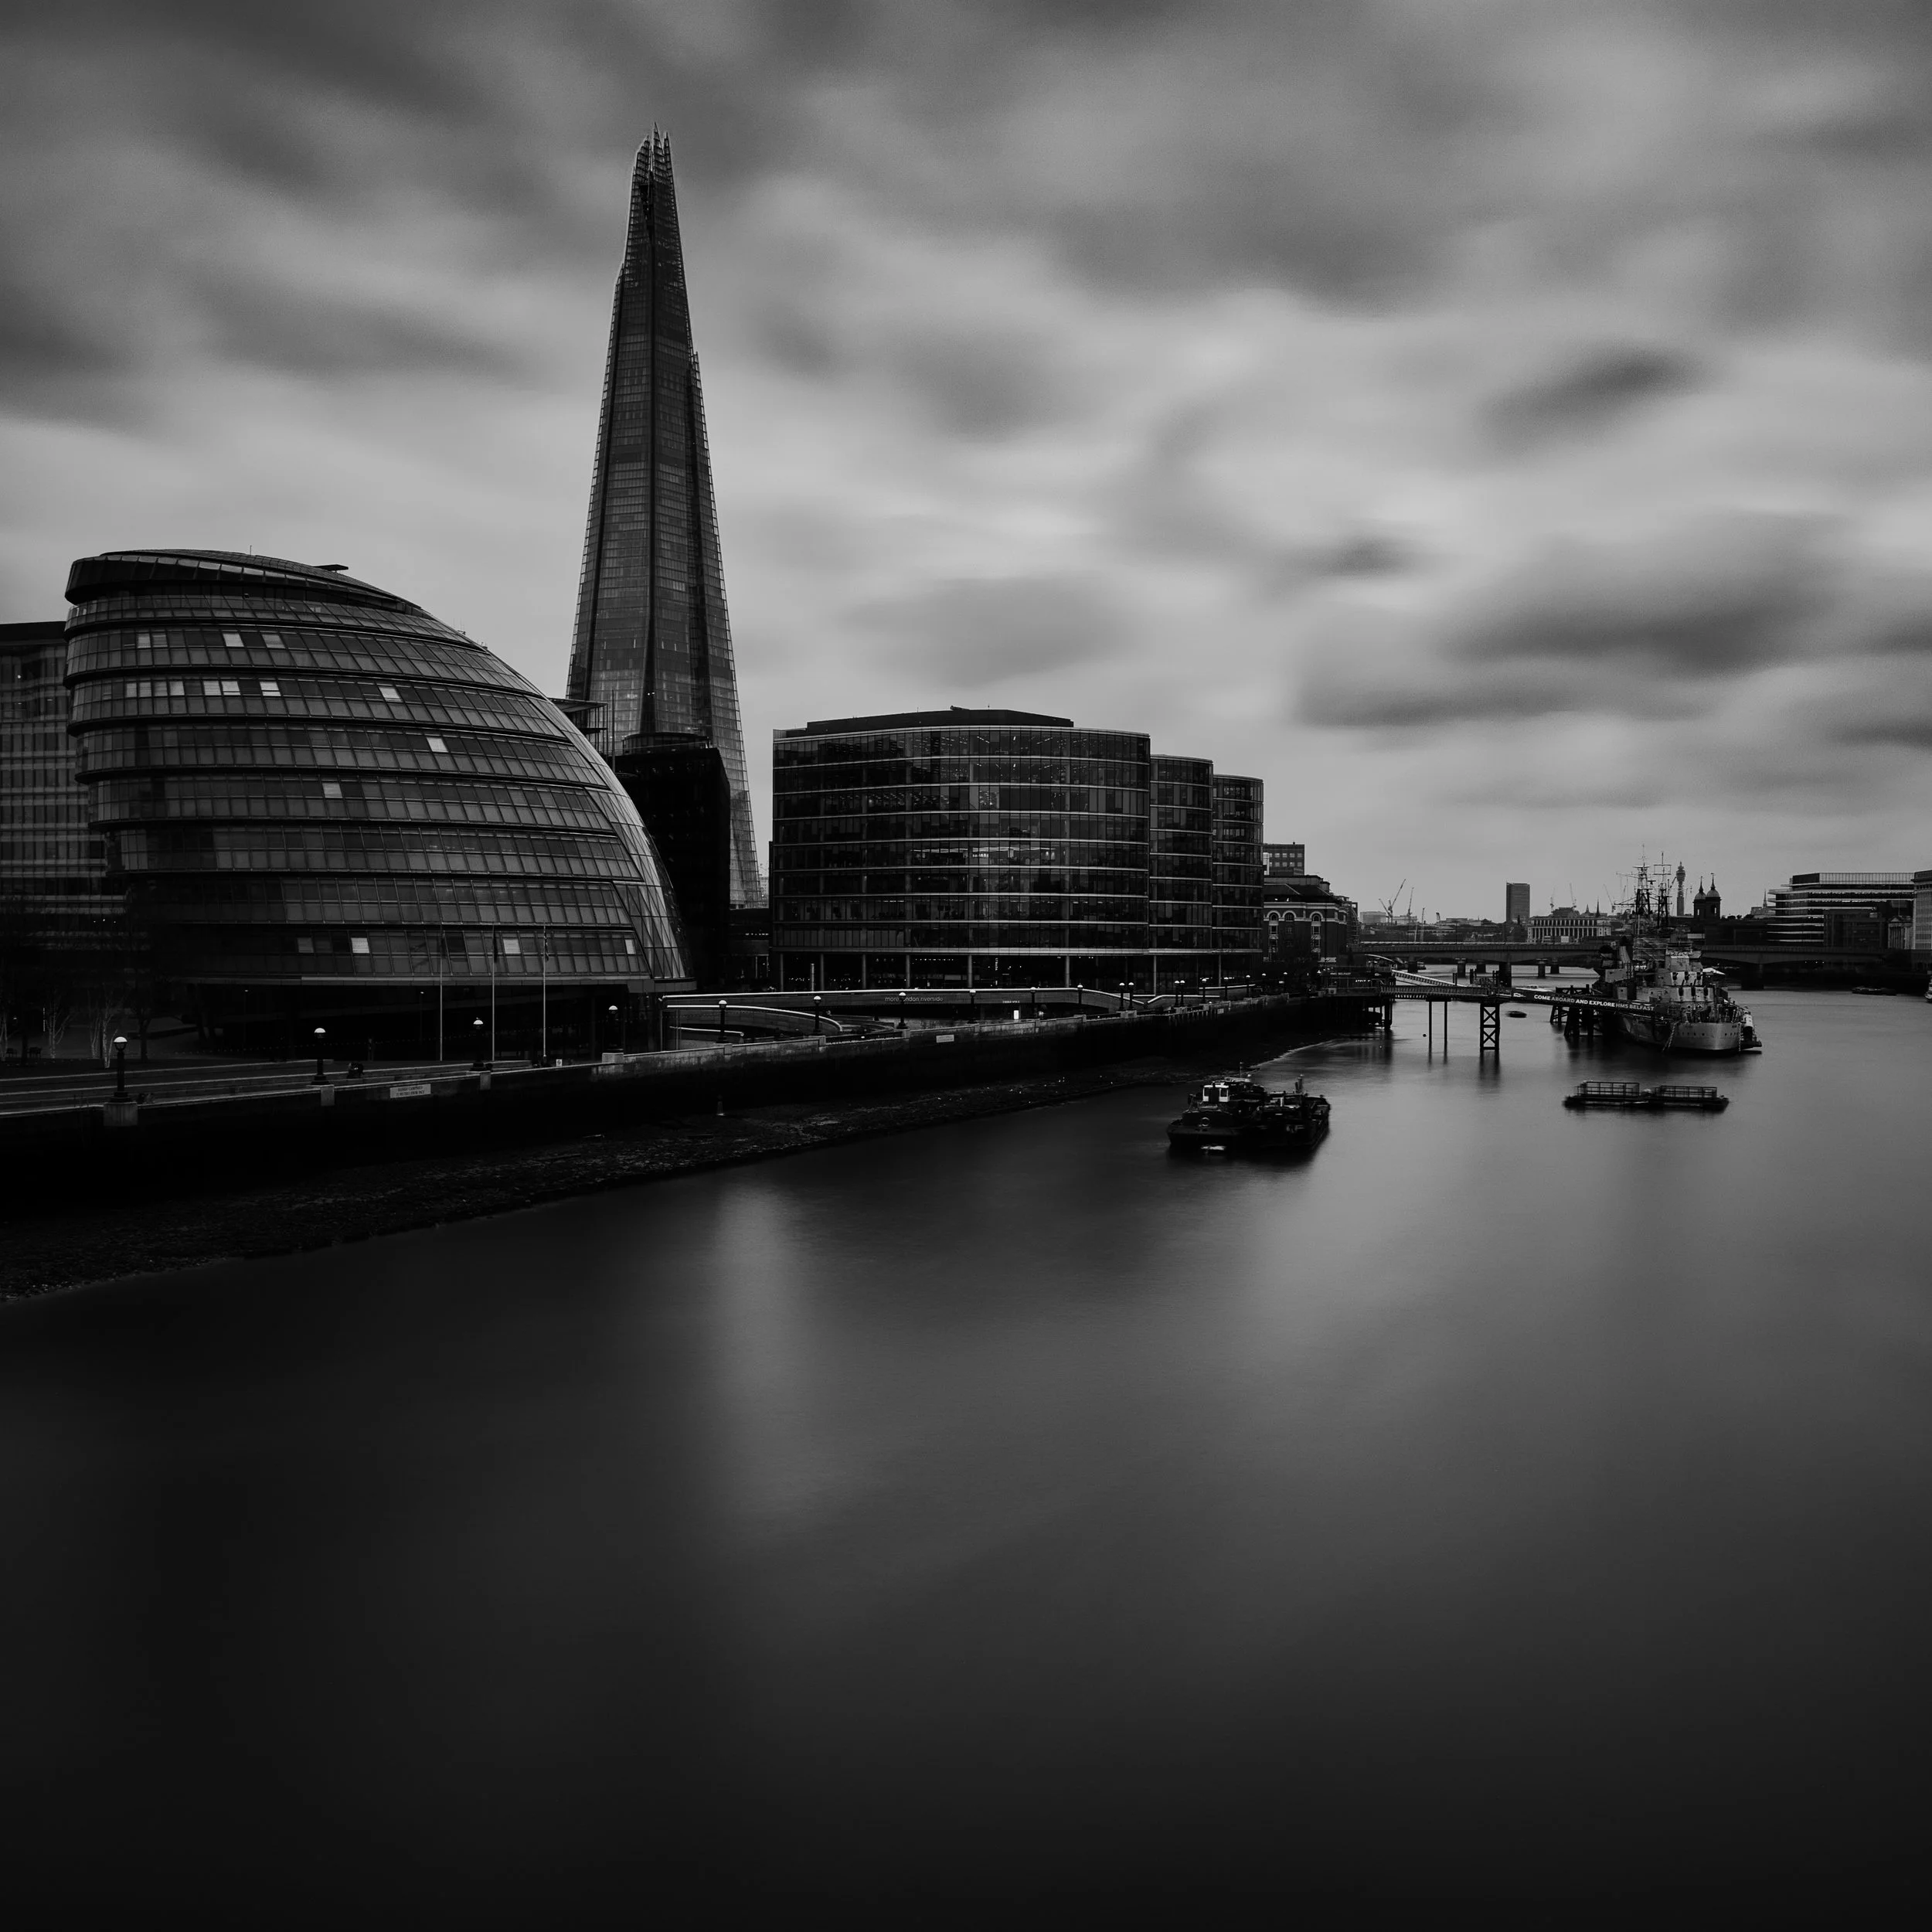
Both of these edits started with presets from Monochromatic, followed by my own custom adjustments to light, contrast and masking.
Preset + your edits = better results.
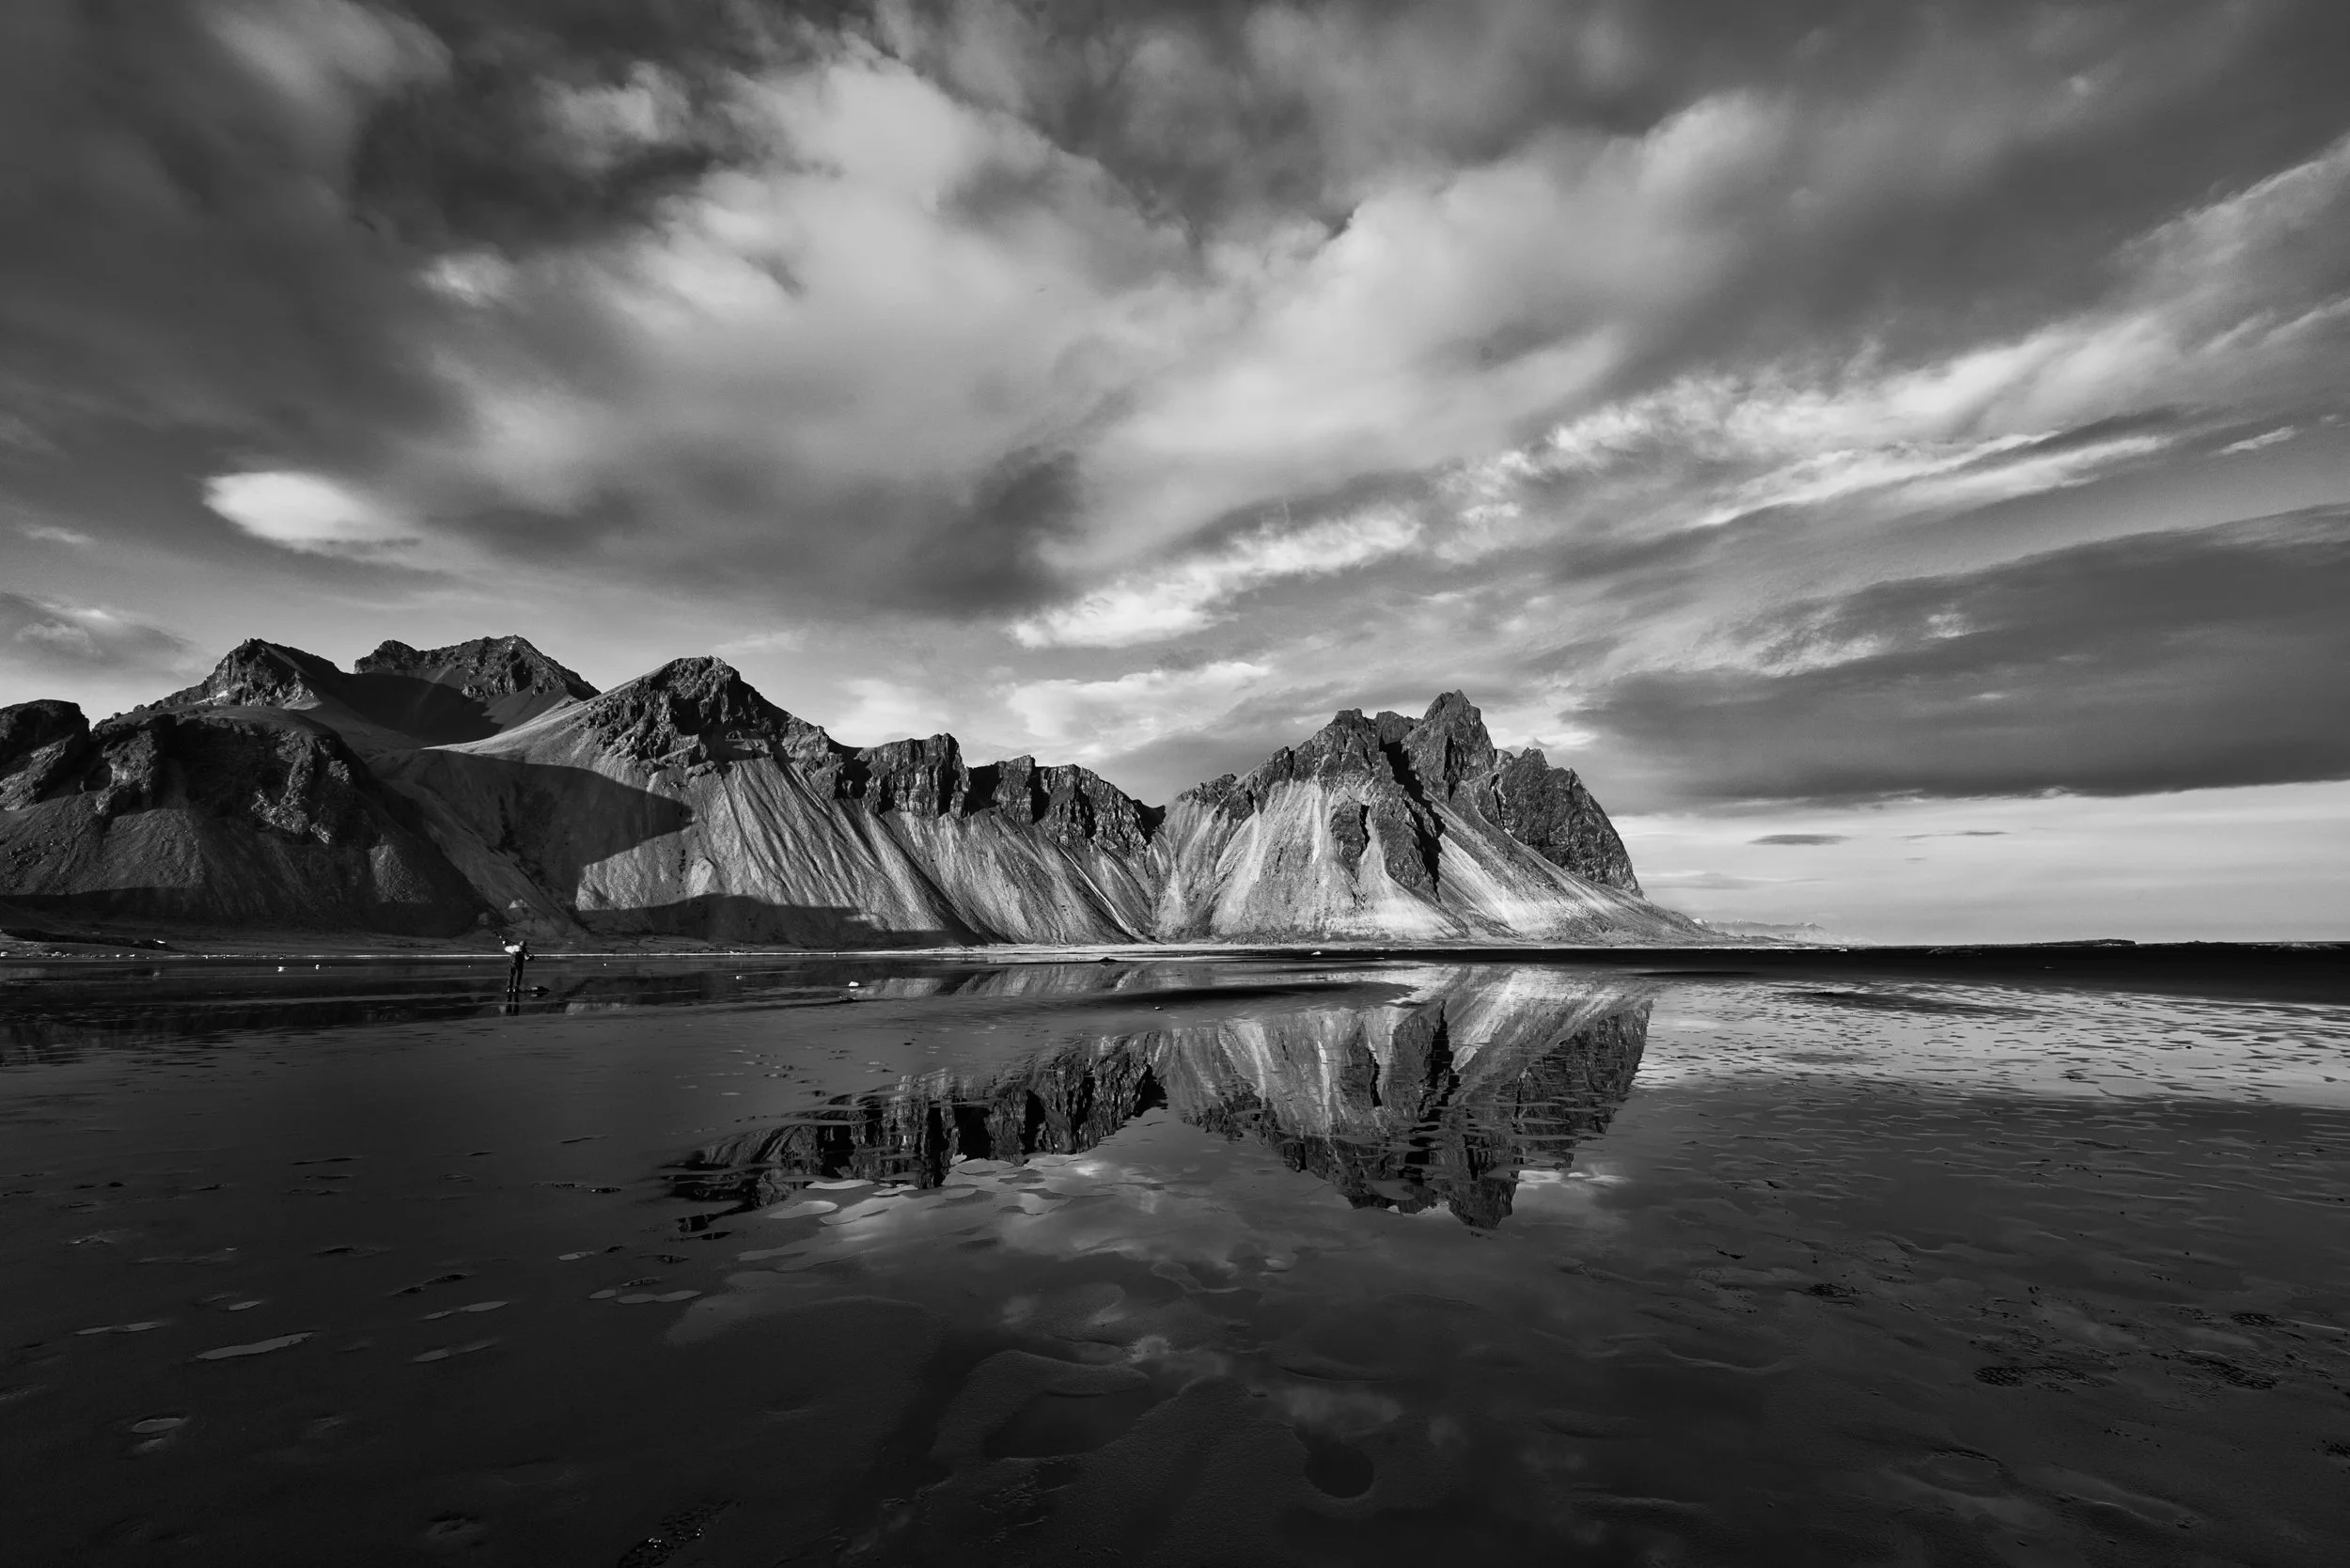
Create striking landscapes! Preset applied and then additional edits were added.
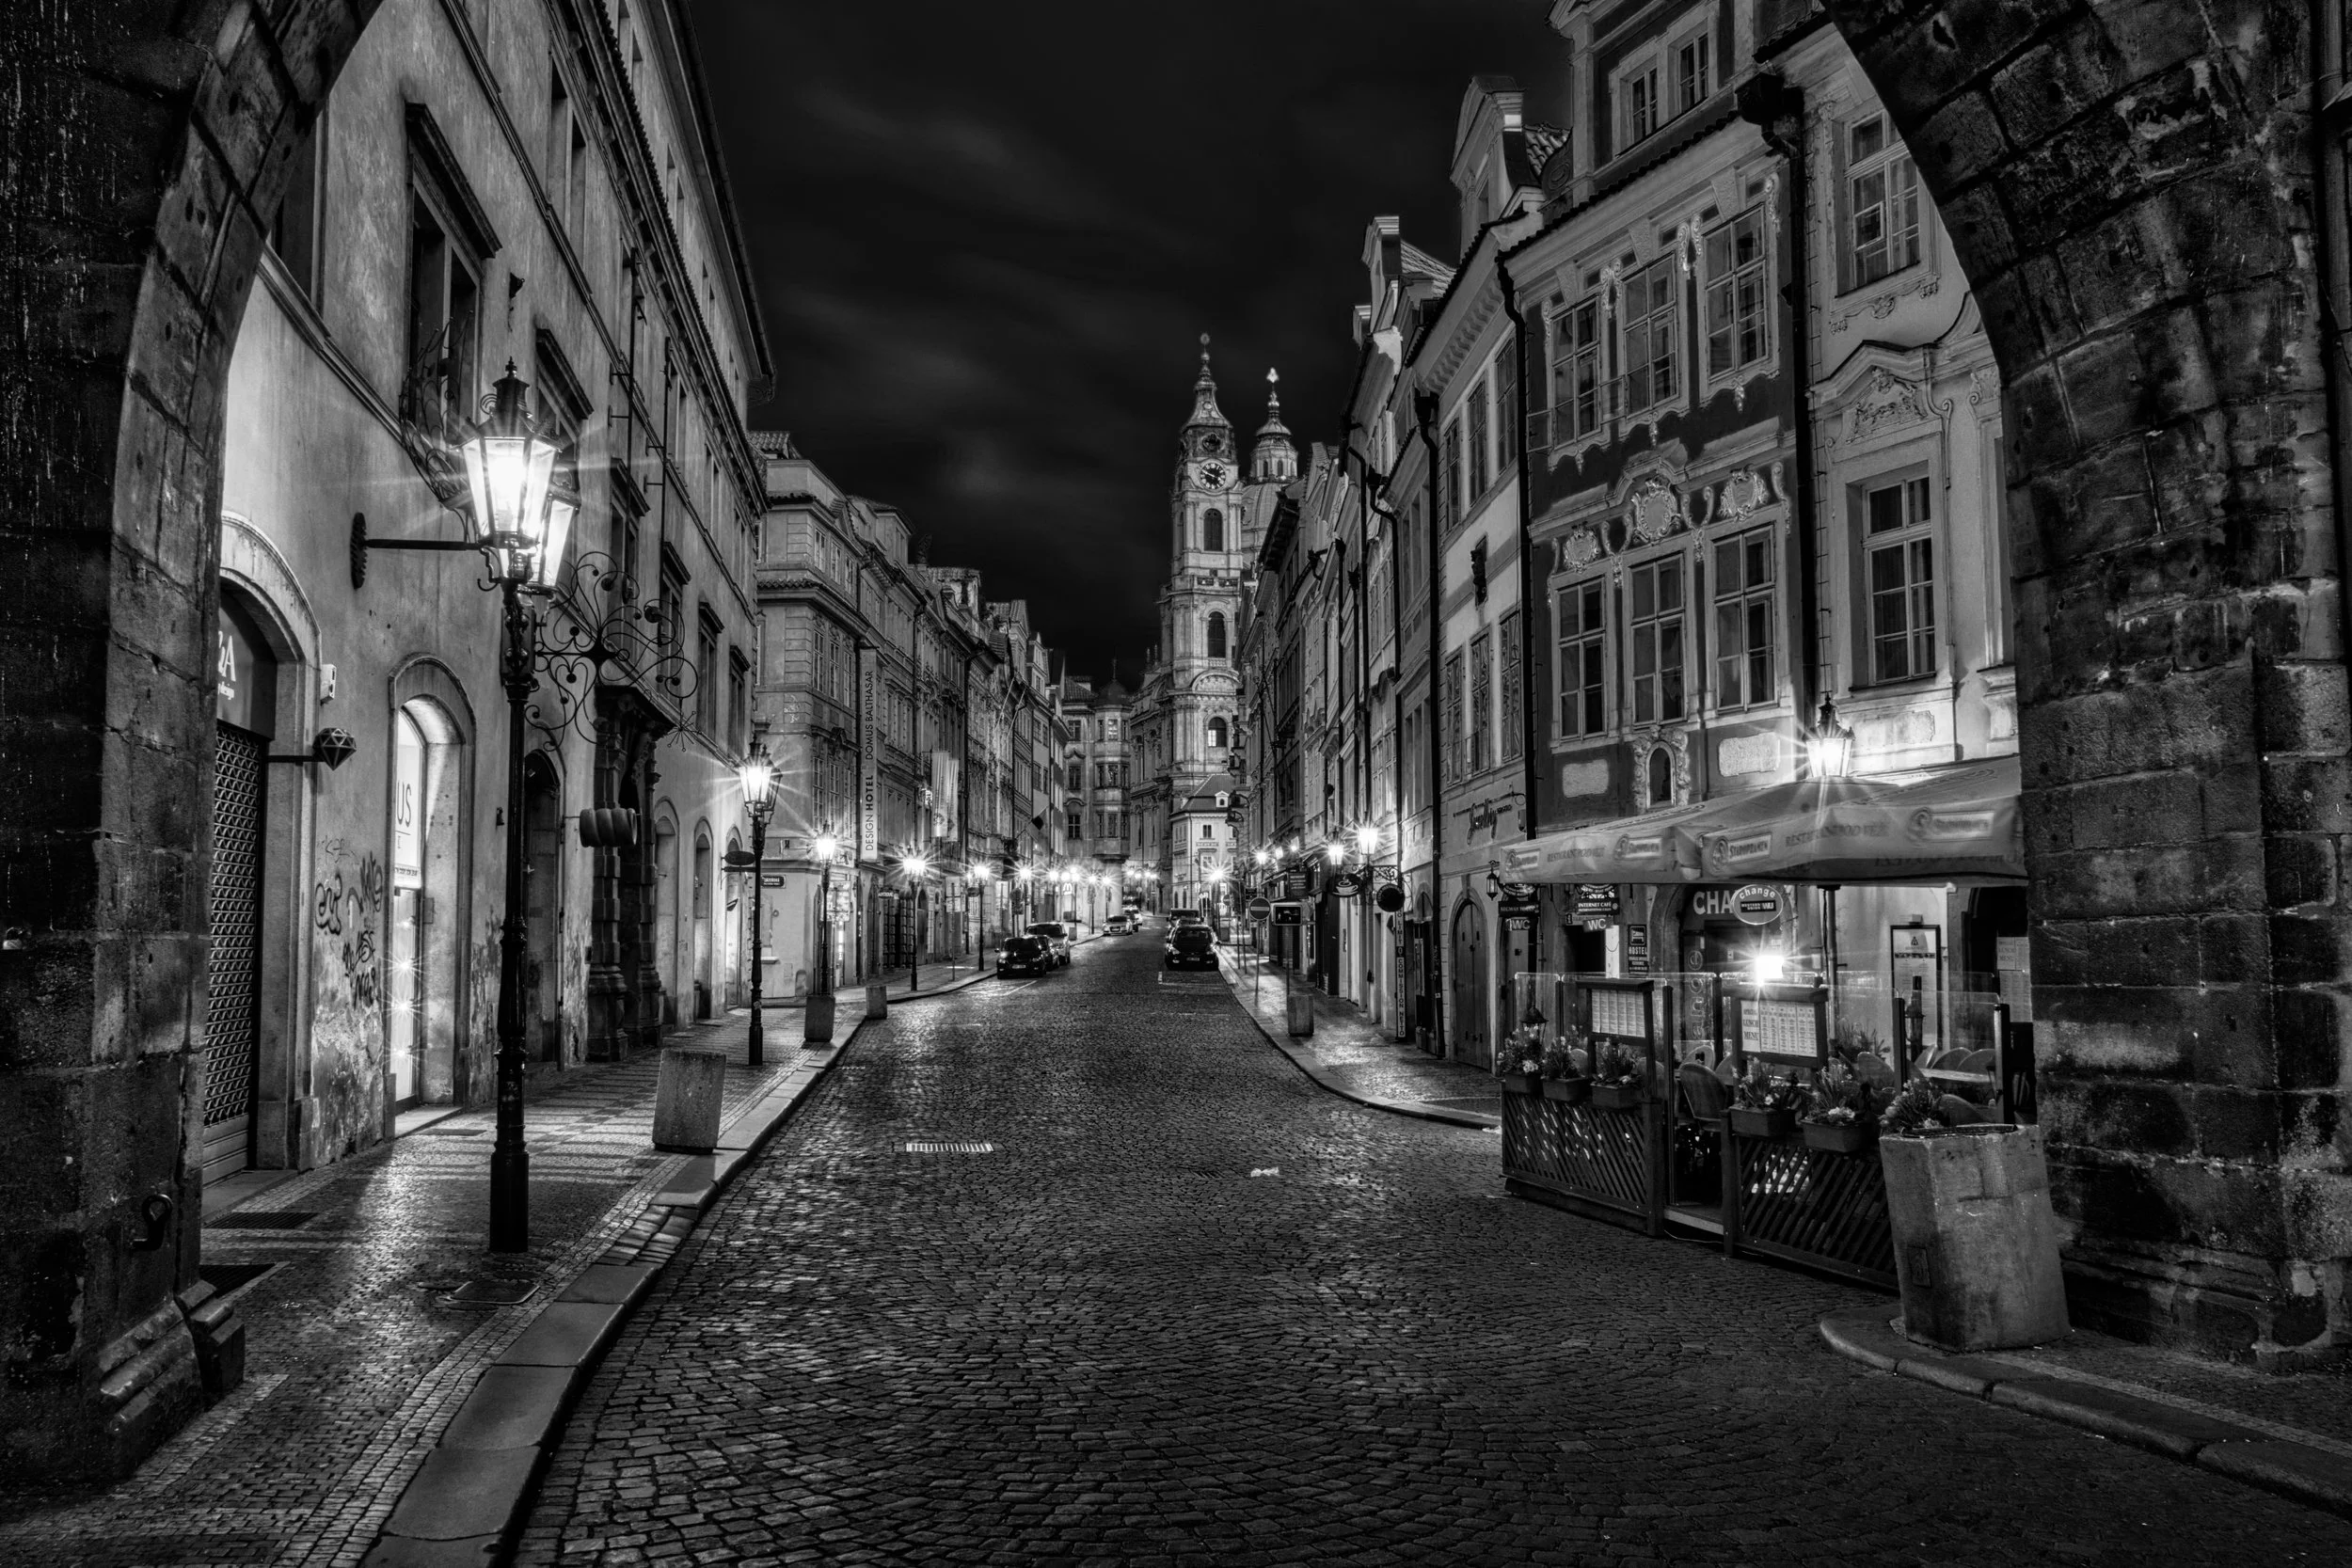
Create stunning cityscapes! Preset applied and then additional edits were added.
See What One Click Can Do
The before/after examples below show only the preset applied — no additional adjustments. That gives you a true look at what Monochromatic can do right out of the box.
But you don't have to stop there.
I usually treat a preset as my starting point. Once I've established the overall look, I'll refine the light, contrast, masking and other adjustments based on what that particular photograph needs.
Start with the preset. Finish with your vision.
FAQ - Frequently Asked Questions
Q: What is a preset? Why would I use them? A: A preset is a pre-built collection of adjustments that, with one click, will change the look of your photo (based on the adjustments inside the preset). Usually, various tools (aka filters) are included in a preset and with one click you will see the light, color and/or details get adjusted accordingly.
Q: How do presets work? A: Presets are a 1 click adjustment to your image. You can use these as a single click solution to editing an image, or as a starting point for your own customized result. All of these presets contain multiple tool and slider adjustments.
Q: What if I like the preset, but it’s too strong? A: Easy! Just reduce the intensity of the preset with the slider. You can dial it back if you want or need to in just a moment.
Q: Can I adjust these presets to suit my own tastes? A: Of course! Each preset can be adjusted to make it work with your image. You can adjust the tools and slider adjustments that are part of the preset. You can add additional tools and slider adjustments to change the preset. You can also remove tools that are part of the preset. It is fully customizable. You are not “stuck” with the preset. It’s really just a starting point unless you are happy with the 1 click result.
Q: Can I use these presets to make my own presets? A: Yes of course. You can customize these presets and then save as your own preset, which you can then reuse again and again.
Q: What if I use Lightroom or Photos to manage my photos, and use Luminar as a plugin from those apps? A: These presets only work in Luminar. However, you can still use these presets, even if you start in another host app. Once you send the photo from the host app over to Luminar, you will land on the Presets tab in Luminar, and these presets will be there. So you can manage your photos in another app but use Luminar as a plugin and the presets can be applied once in Luminar and the edits will carry with the photo when you return it to your host app.
Q: Will these presets work on my iPhone images (or any mobile device)? A: Yes, you can use these presets on any file format that is supported by Luminar. You can find a full list here: https://manual.skylum.com/neo/en/topic/supported-file-types-and-cameras
INSTALLATION INSTRUCTIONS
Upon purchase, you will receive an email with a download link. The file you download will end with the .lnpc extension. Installing this preset pack is a breeze. Open Luminar and then click on File > Add Luminar Neo Preset Collection. Once you do that, it will install. To locate them, click on an image and then click on the Presets tab. Click on the Purchased section and you will see the collection there. Click on the collection to display all the presets. Then experiment and have fun!